
 Guest Blogger
Tips for Volunteers: Measure Twice, Cut Once
Guest blog by CJ Fitzsimons, Women Build Regular Volunteer and Women Build Steering Committee Member
%20-%20Copy.jpg)
Guest blog by CJ Fitzsimons, Women Build Regular Volunteer and Women Build Steering Committee Member
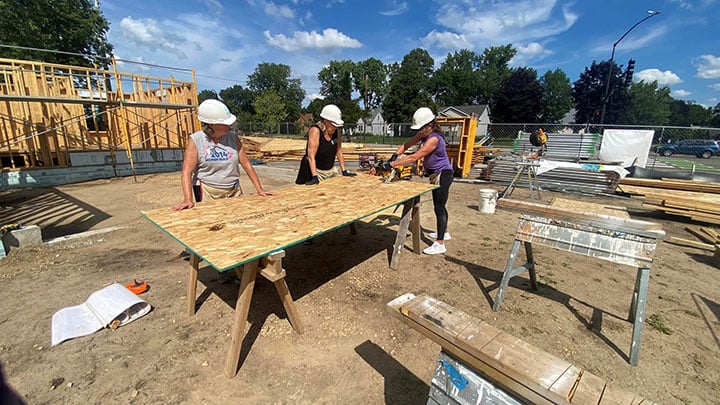
Hello, Twin Cities Habitat community. My name is CJ, and I’m here to share hammer tips and tricks for volunteers. No experience is needed to volunteer, and our friendly site supervisors will provide training. However, these tips will help you nail it!
%20-%20Copy.jpg?width=2038&height=1285&name=Claw%20(3)%20-%20Copy.jpg)
Hammering nails seems simple, but some volunteers have never used a hammer. In that case, “hit the nail on the head” becomes literal. If that’s you, don’t worry. Here are some rules of thumb (so you don’t smack yours):
Common hammers include the following:
Tip: Choose the hammer and weight you’re most comfortable holding for the best aim and control.
Check your hammer and make sure the handle is intact. Loose or damaged handles can possibly injure you or someone else. Look around your work area before nailing to ensure no one is in your “swing zone.”
Tip: Grasping near the top decreases your chances of a finger injury if the hammer slips for this step.
Tip: Move your hand toward the hammer’s head (“choking up the handle”) to help your swing.
.jpg?width=214&height=201&name=Set%20nail%20(3).jpg)
Let momentum do the work—no need to use the force of Thor and his magic hammer. Proper hammering is about technique and practice. For best results, grab the hammer closer to the end of the handle. Bend your elbow to pull the hammer back, slightly bend your wrist, and lightly rotate your shoulder. Swing your shoulder forward and extend your elbow. Once you hit the nail head, snap your wrist forward.
Tip: How far back you swing or how hard and fast you hit the nail is about your comfortability with the hammer’s weight. The bigger and more forceful the swing, the less swings needed.
No matter how skilled you are, eventually you’ll need to remove a bent, broken, or misplaced nail at some point. Here are some ways to do so.
.jpg?width=164&height=108&name=Catspaw_(Tool_nail_puller).jpg) Cat’s paw: This is best for sunken nails and uses a tool called a cat’s paw. Position the tip of the cat’s paw at an angle to the nail in the wood. Use the hammer to pound it into the wood, catch the nail head, and pull back. Once the nail is exposed, extract it with any other method.
Cat’s paw: This is best for sunken nails and uses a tool called a cat’s paw. Position the tip of the cat’s paw at an angle to the nail in the wood. Use the hammer to pound it into the wood, catch the nail head, and pull back. Once the nail is exposed, extract it with any other method.Ready to start hammering? We’re looking forward to seeing you onsite! Explore volunteer opportunities or learn about becoming a Winter Warrior. If you’re curious about joining me on the Women Build Steering Committee, email Lizzy at lizzy.reilly@tchabitat.org. In the meantime, check out Women Build opportunities in the off season.

 CJ Fitzsimons is a Women Build Regular volunteer. She also serves on the Women Build Steering Committee.
Your gift unlocks bright futures! Donate now to create, preserve, and promote affordable homeownership in the Twin Cities.

Guest blog by CJ Fitzsimons, Women Build Regular Volunteer and Women Build Steering Committee Member
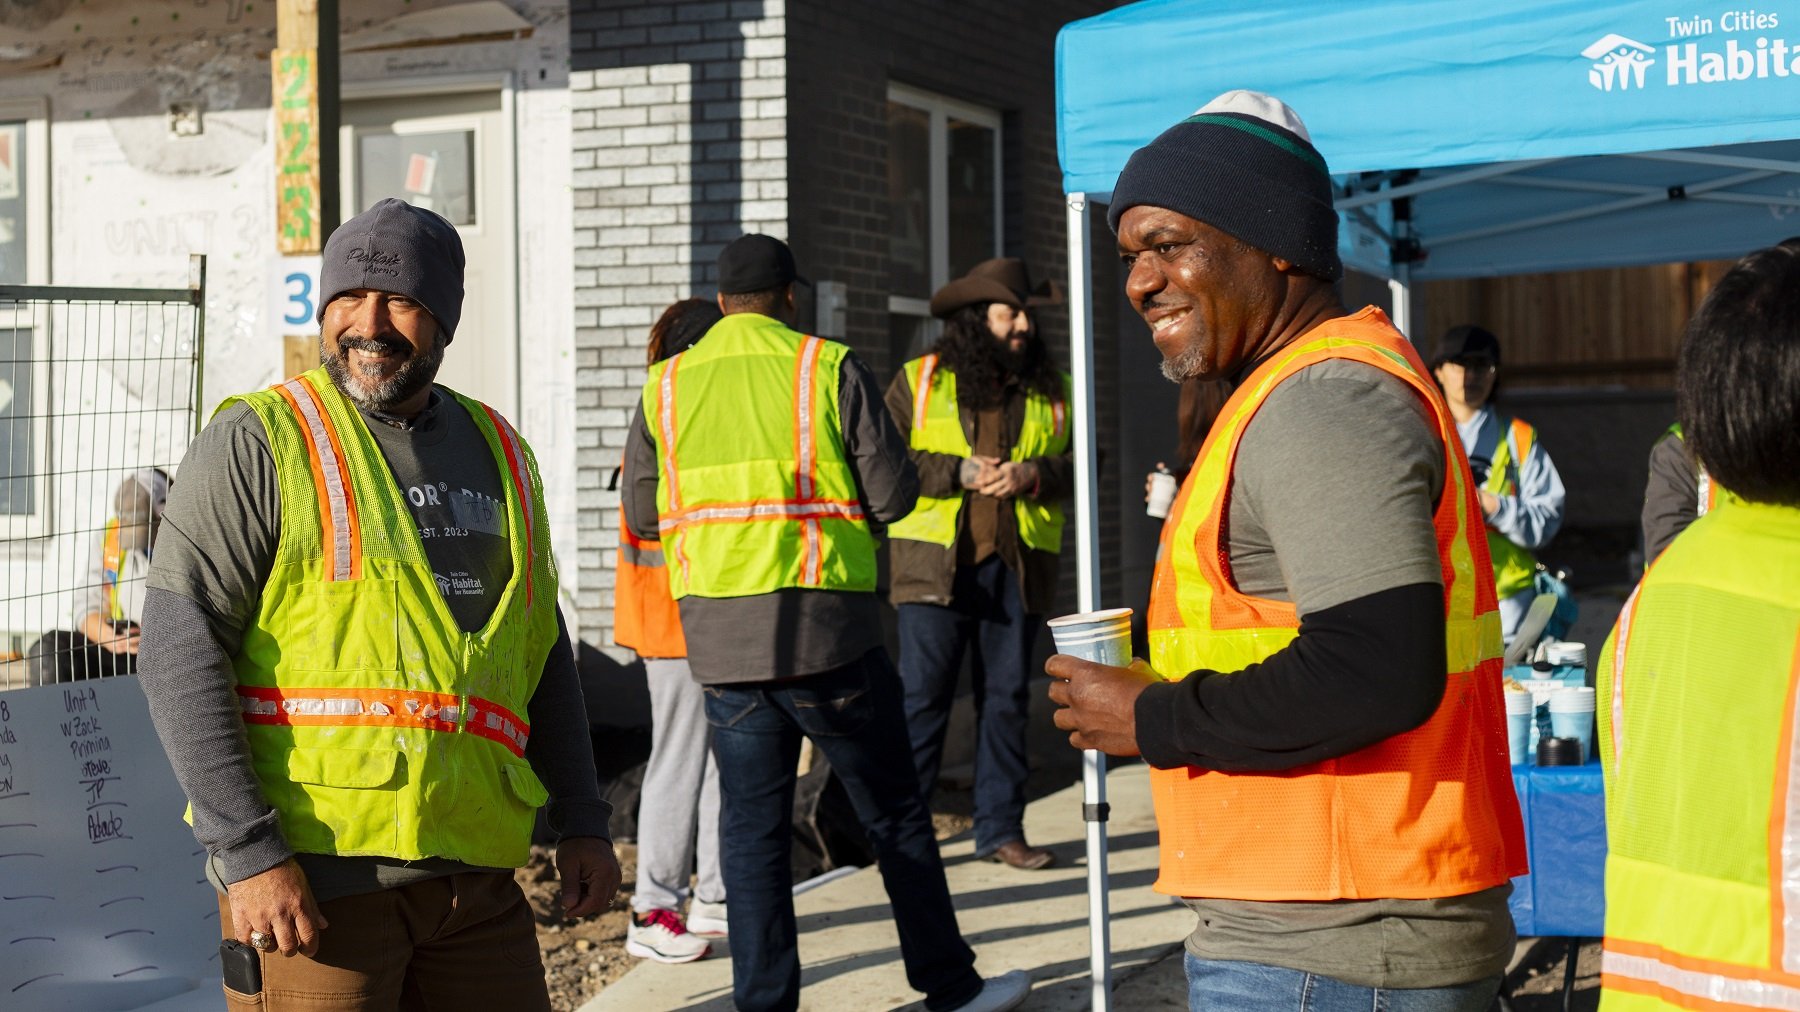
Volunteering with others is fun—and good for us. In fact, according to Mayo Clinic, one of the top benefits of volunteering is new or strengthened...
.jpg)
Did you know that Twin Cities Habitat for Humanity offers a variety of rewarding volunteer opportunities beyond homebuilding?